#
Tilemaps
Tilemaps are a popular 2D technique used to build level maps out of small images called tiles. They are mapped to a logical grid, creating maps out of image fragments as a replacement for big image files. Think of them as the paint that will fill the canvas.
#
How to add tilemaps
On the Explorations panel, go to the Tilemap tab. Then, click on the New button on the left panel to add a new tilemap. If you are on mobile, the left panel is collapsed. Click on the top left floating button to open it.
Now, you need to upload your tilemap asset and test it on the preview canvas below. For creating your own tilemap, you need to understand how the Novel Builder's tile atlas works.
#
Tile atlas
The Novel Builder's tile atlas uses a combination of techniques, and understanding these is important for building a seamless tilemap sprite.
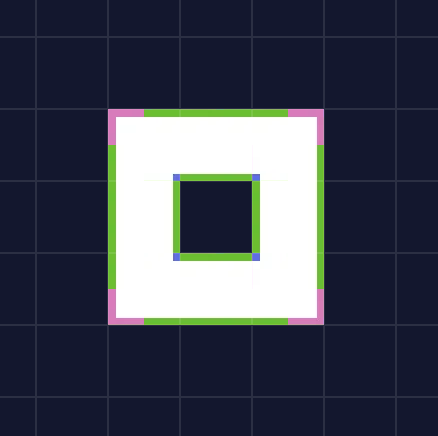
The tilemap is divided in 3 sections: isolated, inner corners, and core.
- Isolated is the section of the sprite that renders when the tile has no nearby tiles.
- Inner corners is a section of the same size as the isolated sprite that is subdivided in a grid of 2x2, where each subdivision is an inner corner.
- Core. This section is the adaptable characteristic of the tilemap. Making use of the 9-slicing technique, it repeats certain subdivisions to fill missing sections.
Take into consideration this proportion when making your tilemap. Tilemaps, just like spritesheets, are 2x3 grids.
- The top-left cell is reserved for the Isolated section.
- The top-right cell is reserved for the Inner corners section.
- Then, the last cells are reserved for the Core section.
The next image is a visual representation of these sections' placement on the atlas.

#
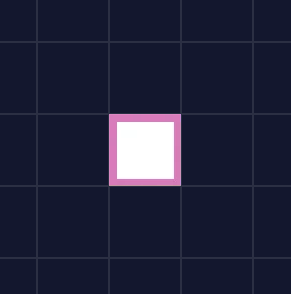
Creating the Isolated section
The top-left cell is the tile used when the map's cell has no adjacent tiles, meaning no other cell contains any tilemap information. They are empty.
In the isolated section, just paint how the tile should look when alone.
#
Creating the Inner corners section
The top-right cell contains the subdivisions used for the inner corners of the map. Divide the cell in halves, horizontally and vertically.
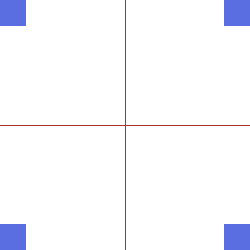
On each subdivision, paint its respective inner corner.
#
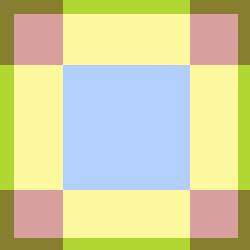
Creating the Core section
The last four cells contain the Core section, which makes use of the 9-slicing technique. 9-slicing is a 2D technique that allows the reuse of an image at various sizes. The image is divided into nine portions so that when the sprite is resized, the different proportions tile.
This is how the 9-slicing technique is applied on the tile atlas.
- The blue section is used to fill the interior section of the map.
- The yellow section is used to fill the edge sections.
- The red section is used for corners.

#
Tilemap Examples


#
Recommendations
- Define the size of the isolated section first, then start your tilemap. Most common sizes are 32x32 px and 48x48 px.
- When painting the core section, make sure the middle areas tile. For example, grab a middle edge and repeat it twice. Modify it until the tiling is seamless. Some software allows you to enable a "tile" view on your canvas.
- For a cohesive design, paint your isolated section using the corners and center of your core section.
- Draw sections of the map as a base and work from that when building your tilemap.