#
Creating a bot
To create a bot, go to the Bot builder or to http://localhost:8586/ if you are running it locally.
#
Step 1: Description
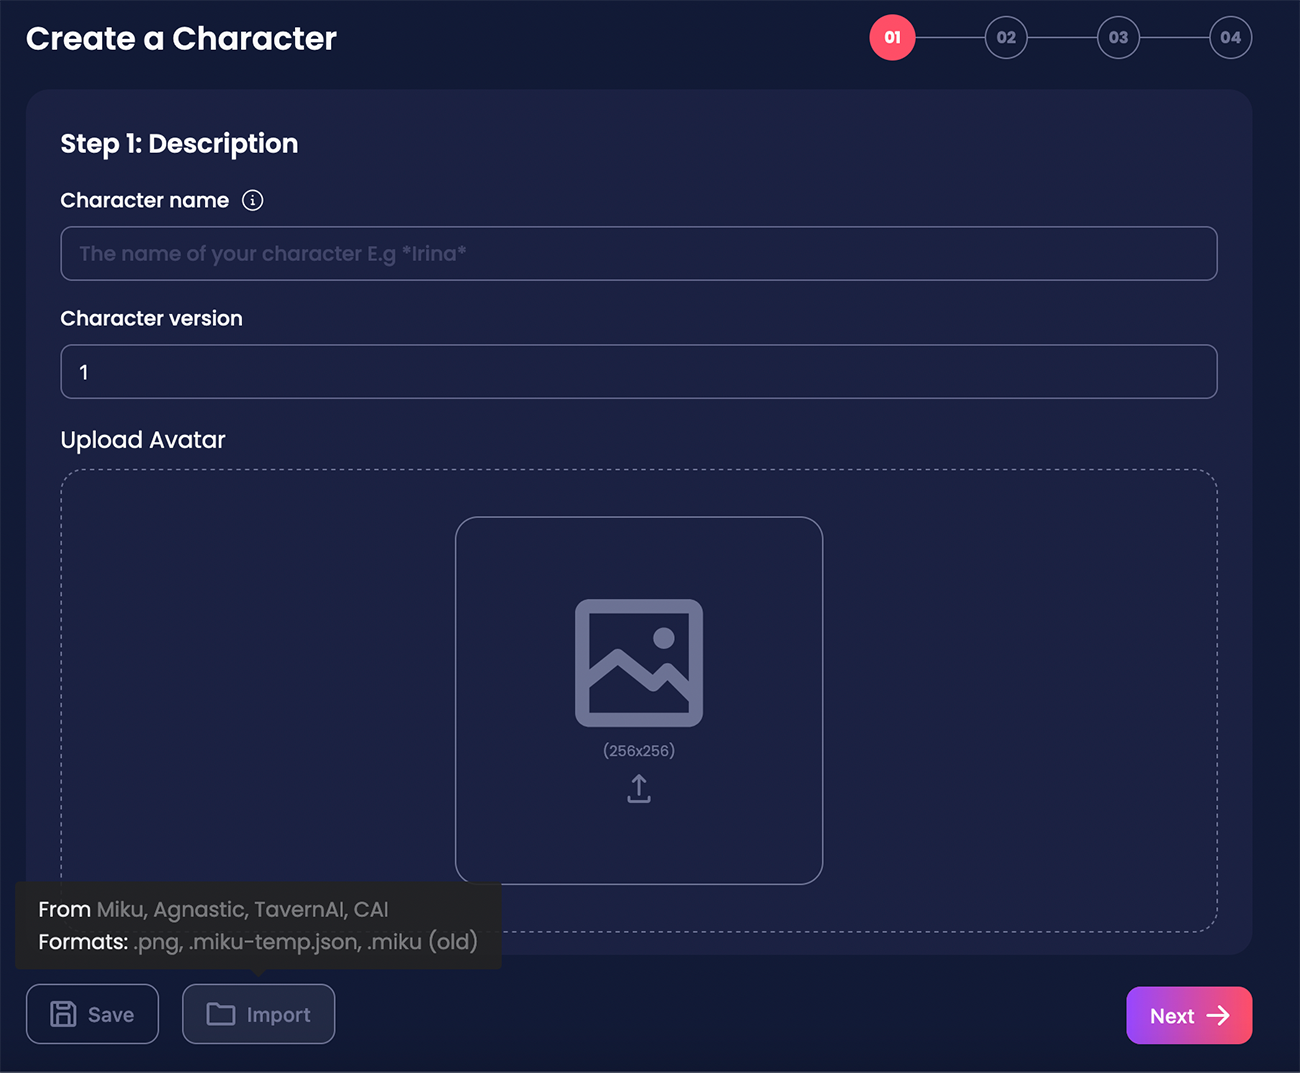
On the first page, you have to complete the form for the bot creation.
- Character name: The name of the bot
- Character version: The version of the bot (use
1as default) - Author: Your name, as a bot creator.
- Avatar: Drag and drop a small image (no bigger than
512x512) as the bot avatar - Character short description: A short description of the bot. Use only one sentence.
- Character complete description: A complete description of the bot's personality and behaviour to be insterted in the prompt.
- Describe the Scenario: Environment and world info about the bot. To be inserted in the prompt.
- Sample Conversations: A list of sample conversations to be inserted in the prompt. The intent is to give the model some context about the bot's personality and behaviour. Separate each conversation with a line containing
<START> - Describe the Personality: A list of attributes that describe the bot's personality. To be inserted in the prompt.
- Character Greeting: The first message from the bot that triggres conversation starts.
#
Import Bots
You can import bots in .png format that are already built, using the import button. You can also imports bots that are build for other frontends like Agnai, RisuAI or SillyTavern. Most of these frontends are intended primarily for text-only bots, so you will have to add the images for the bot to make it work well with miku.gg.
Miku.gg uses the spec_v2 fortmat for the bots (embedded inside .png images) which is compatible with most frontends.
Try some examples
It's recommended that you import some example bots that work well so you can see how are they formatted and properly build a good prompt for your bot.
A great source for example bots is Character hub
#
Step 2: Assets
Next, you'll have to add the images for the bot. Emotions and background images are required.
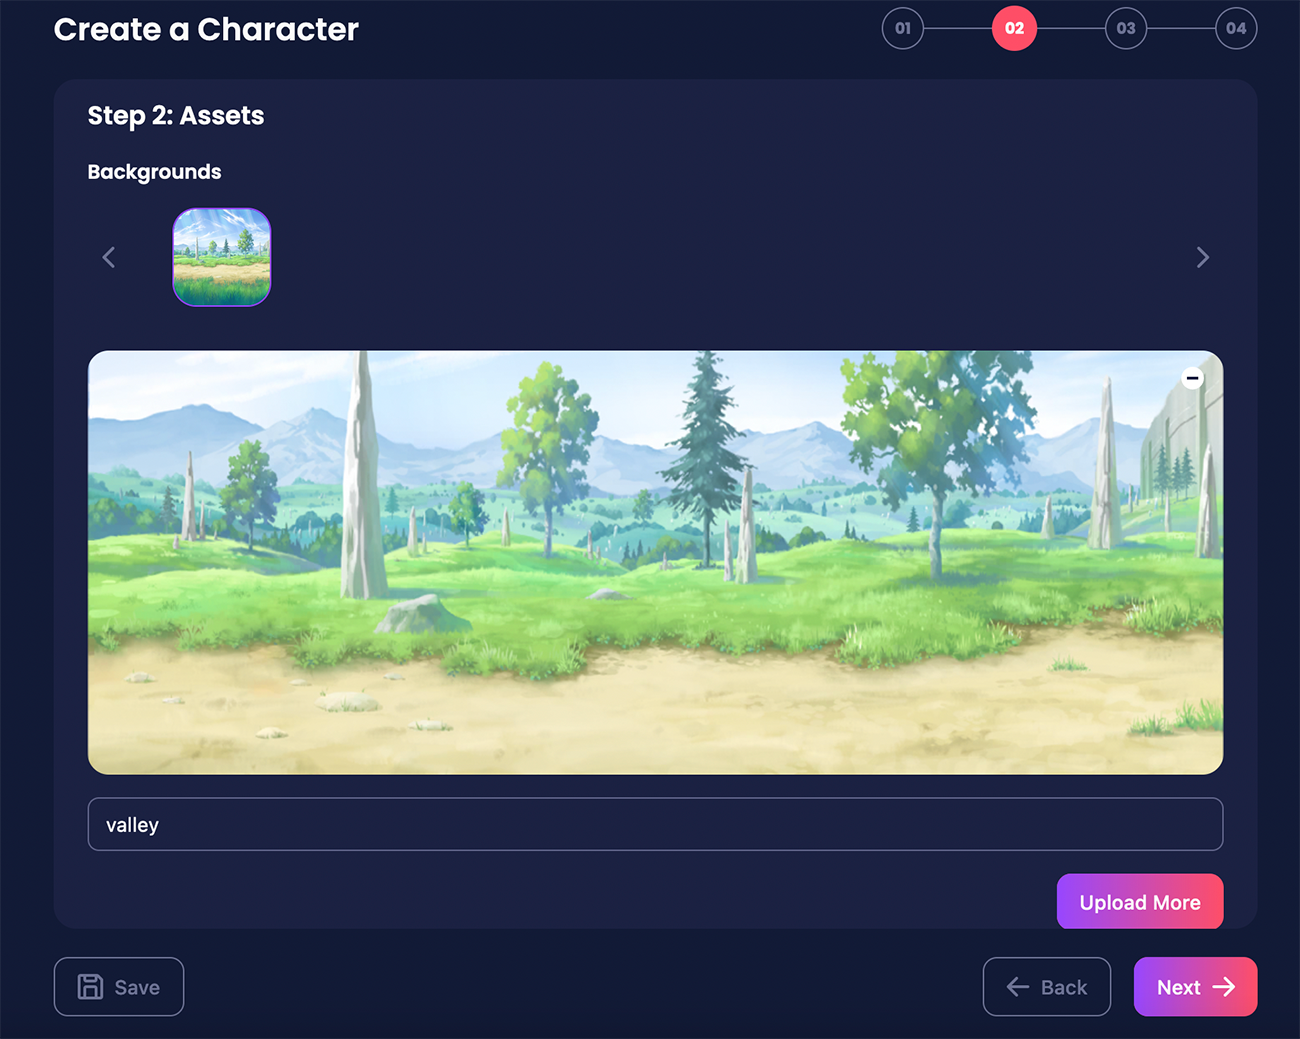
Please make sure to use 16:9 or 16:10 format images for the backgrounds. You will use them later for scenarios.
#
Emotions groups
You can have different outfits for your character. For example, you can have a casual outfit and a formal outfit. You can add as many groups as you want.
Additionally, you need to select the Emotion Set which is the group of emotions that will be used for each particular group.
- Regular Emotions are intended for most cases. They consist of 29 emotions, you can repeat the same image too if you don't have that many images.
- Lewd Emotions are intended for NSFW outfits. They consist of 16 erotic-roleplay emotions.
All the images you upload should have transparency because they will be placed on top of backgrounds. Also, the canvas size should fit the content for better results.
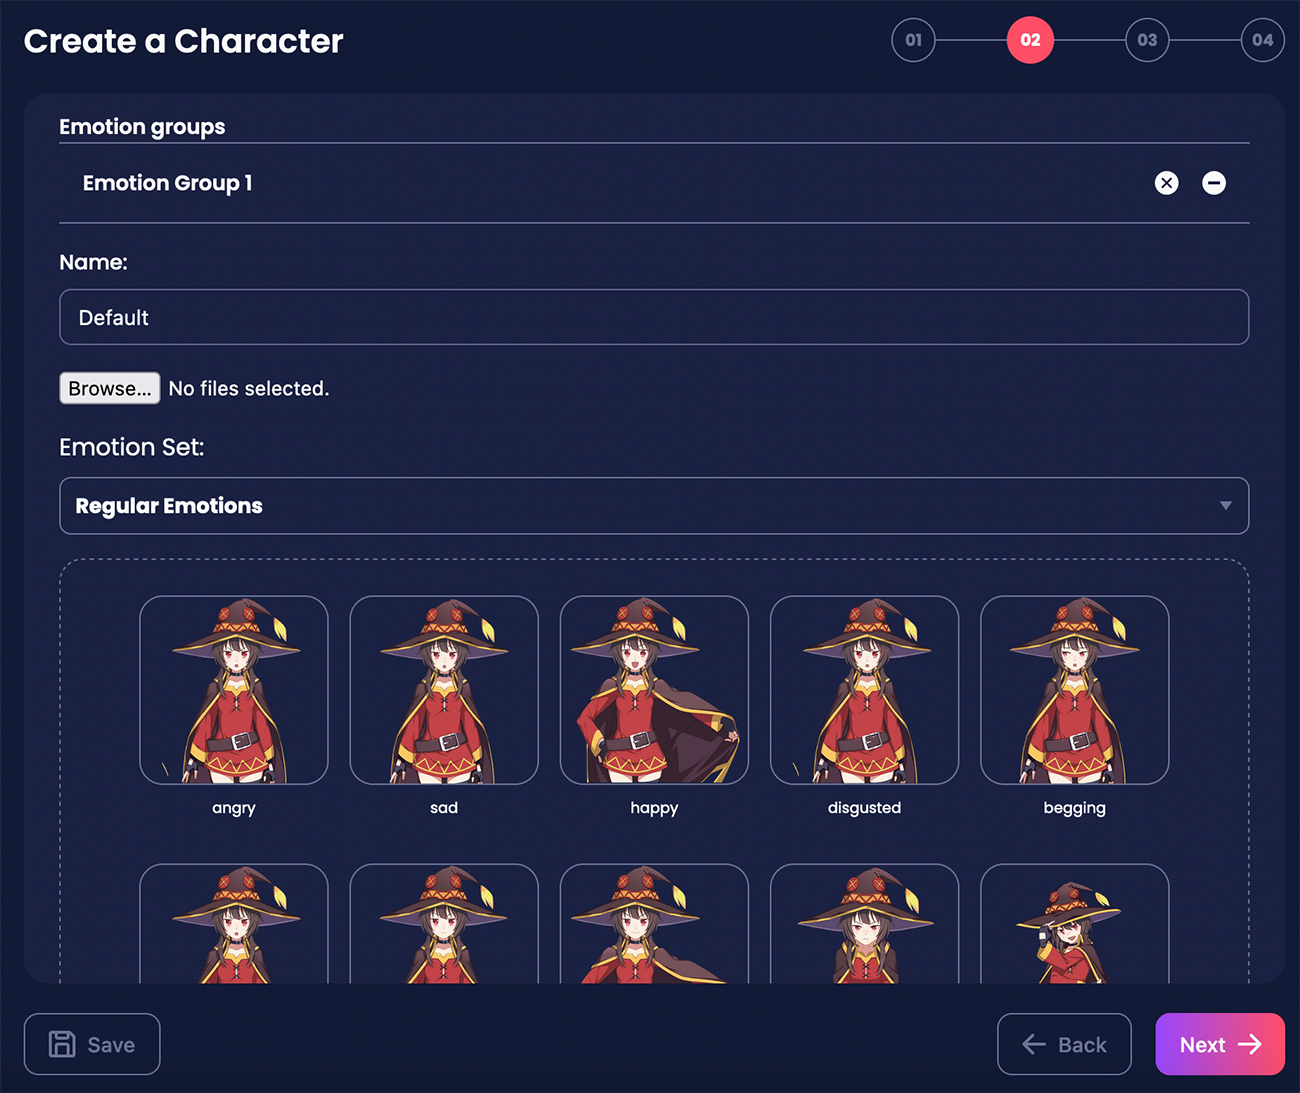
You can drag and drop each image or click on select and choose the images from your computer. It will autofill the images with matching names to the emotion names; for example, angry.png will be used for the angry emotion.
WebM and GIF support
We are excited to announce that you can now use .webm and .gif images for the emotions. This is useful for adding animations to the emotions. Remember that they should have transparency.
#
Step 3: Scenarios
Next, you'll have to add the scenarios for the bot. Scenarios are the backgrounds that will be used for the bot. You can add as many scenarios as you want.
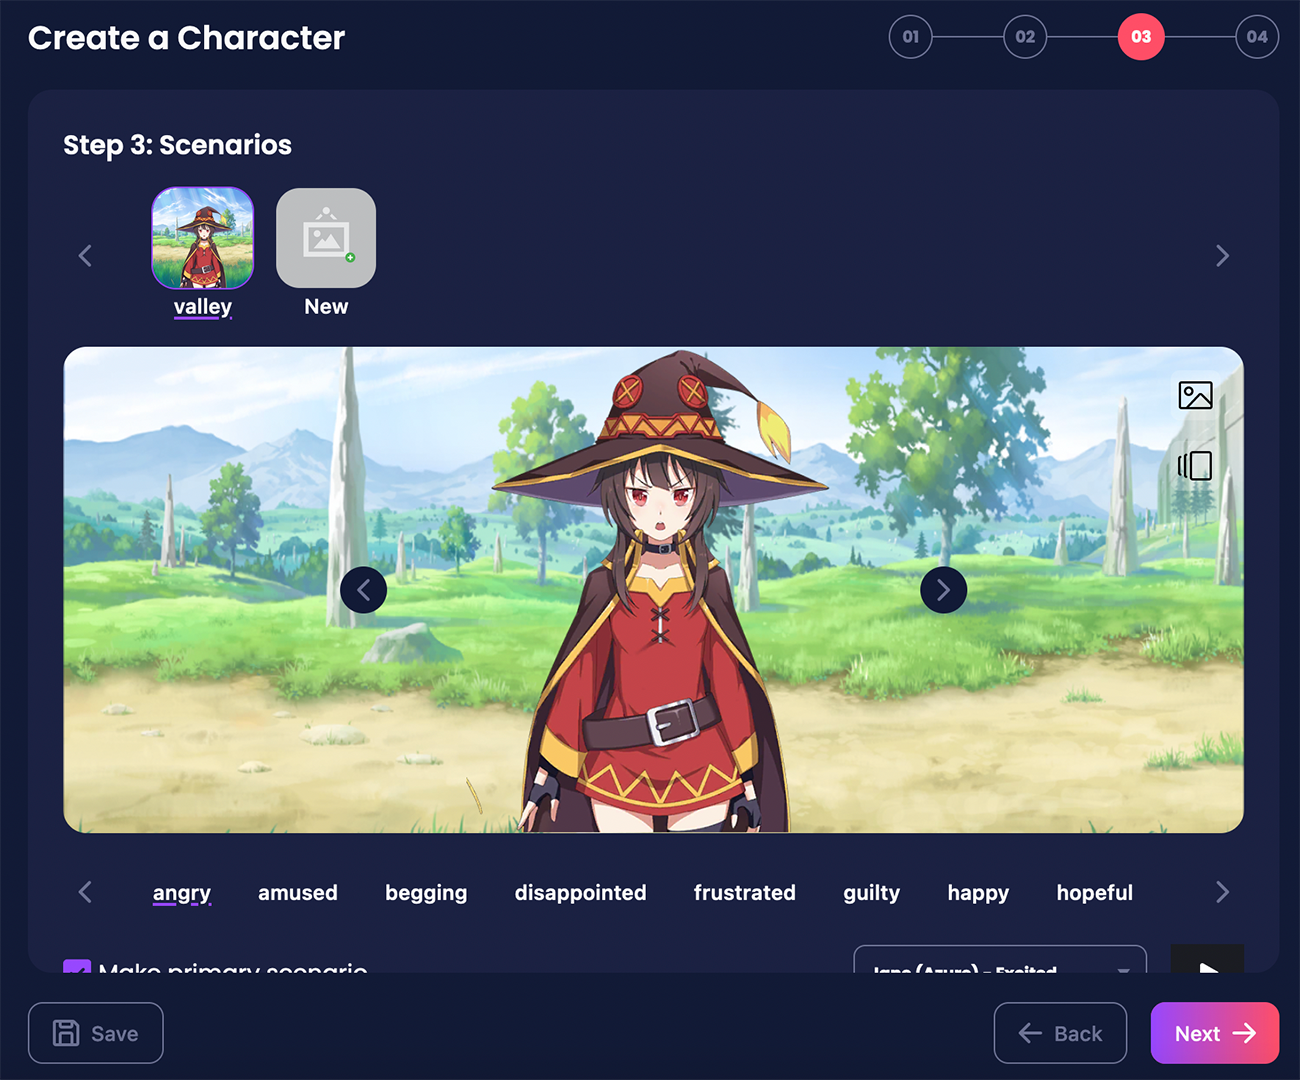
Each scenario represents a different environment for the bot. For example, you can have a bedroom scenario and a kitchen scenario.
#
Scenario prompt definitions
Once you select a background and an emotion group, you need to defined other attributes.

Make primary scenario is for the scenario that will be used as the default scenario for the bot. It will be used when the bot is first loaded.
Scenario name is a short name for referencing the scenario. It will not be used in the prompt.
Voice is the voice that will be used for the bot. It's recommended to use Azure voices since it's the cheapest. You can also use ElevenLabs voices.
Keywords are a list of words that define the scenario. This will be used by the emotion interpreter to try to guess when it's appropiate to change to this scenario and suggest it to the user. This is a work in progress feature.
Action text is the text of the button that will be used to change to this scenario.
Prompt context
see below .Children scenarios are the list of scenarios that can be accessed from this scenario. For example, if you have a
bedroomscenario, you can have akitchenscenario as a child scenario.
#
Prompt context
When creating a scenario, you have to define the prompt for the scenario. The prompt is the text that will be used to give context about the new environment. For example, if you have a bedroom scenario, you can use the following prompt:
are in a bedroom. The walls are painted in a light blue color. They feel very comfortable.
#
Step 4: Finished character
Here you can have a preview of the character before building it: its size and the scenarios.
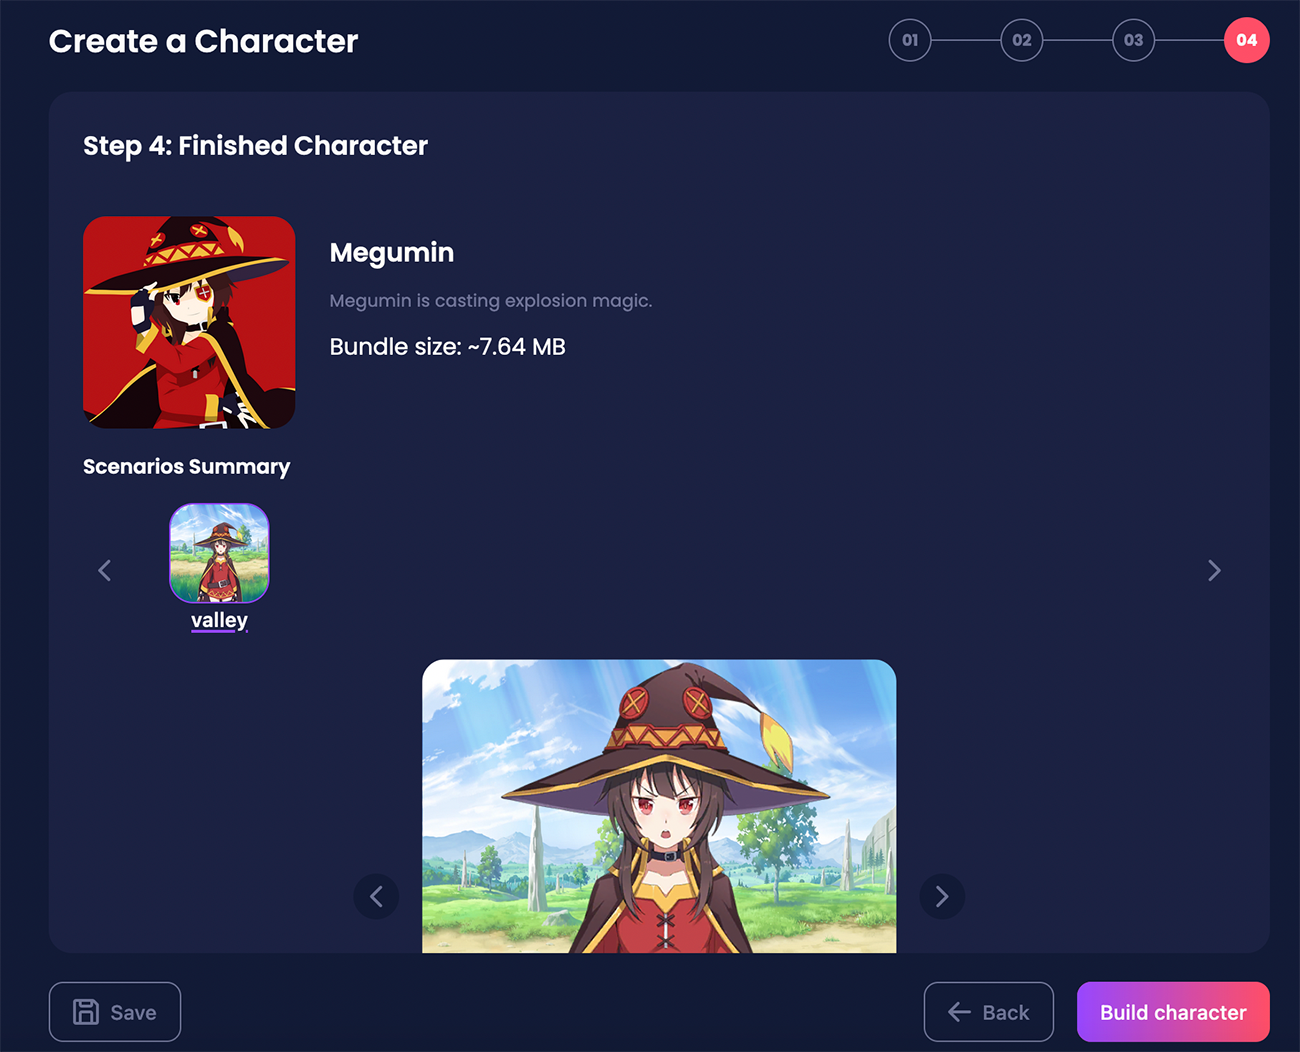
To build the bot, just click on the Build Bot. It takes quiete a while to build the bot depending on the amount of assets and the specs of your computer, so please be patient.
When finished, it will generate a .png file with the bot. You can download it and install it in your bot db https://localhost:8585 and, if you want to share it, you can upload it to the Bot directory.
Save before building!
Remember to save the bot draft by clicking in Save before building it. Otherwise, you will lose all the progress if it fails.
